A tap that never fully shuts up might not sound like a big deal. The drip feels harmless, almost easy to ignore, especially when life gets busy. That quiet plink into the sink seems small, but it adds up faster than most people expect.
Every drip sends treated water straight down the drain. You already paid for that water, and if it is hot, you paid to heat it too. Over time, that tiny leak turns into higher bills, worn-out fittings, and avoidable damage under your sink.
Fixing a dripping tap is one of the simplest home repairs you can do. It does not need special skills or fancy tools. It just needs a little time, the right part, and the decision to stop wasting money.
How a Small Drip Becomes a Big Expense
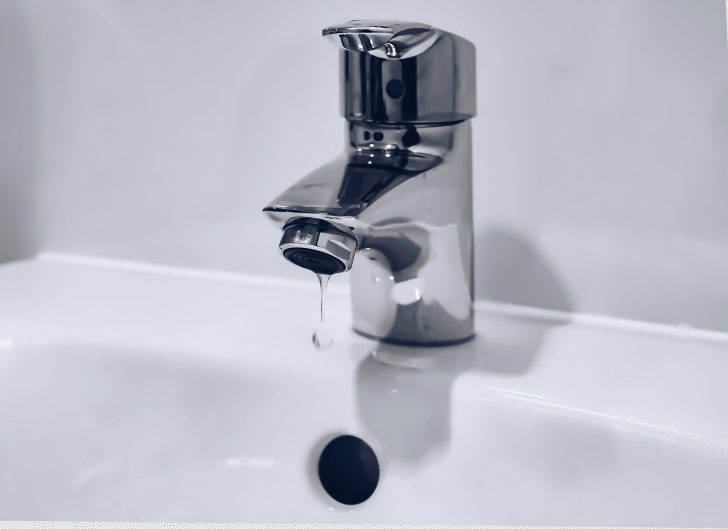
RDNE / Pexels / A slow drip can waste thousands of litres of water each year. You might not notice it on a daily basis, but your water meter does.
If the tap drips every few seconds, that is water flowing all day and all night with no purpose.
And if the leak comes from a hot tap, the cost climbs even faster. Your boiler or water heater keeps working to replace that lost hot water. Over a year, that extra energy use can quietly push your utility bills much higher than expected.
Money is not the only issue here. Constant moisture wears down metal parts and causes corrosion. It can stain sinks, damage cabinets, and weaken fittings over time. What starts as a cheap fix can turn into a costly repair if ignored long enough.
What Causes a Tap to Drip?
Most dripping taps fail because of a worn washer. In older compression taps, the washer presses against the valve seat to prevent water from flowing. Over time, friction and pressure break it down until it no longer seals properly.
Modern mixer taps often use ceramic cartridges instead of washers. When these crack or clog with mineral buildup, water slips through even when the tap is off. O-rings around the tap spindle can also wear out, causing leaks near the base or handle.
Sometimes the problem is not the tap itself. High water pressure can force water past seals that are still in decent shape. Loose internal parts or corrosion inside the valve can also prevent a tight shutoff.
How to Diagnose the Problem Before You Start
Start by watching where the water appears. A drip from the spout usually points to a washer or cartridge issue. Water pooling around the base often means a worn O-ring.
Turn the tap on and off slowly and listen for changes. Grinding, stiffness, or uneven movement can signal internal wear. These clues help you know which part needs replacing before you open anything up.
Once you have a good idea of the source, you can plan the repair. Most tap issues only need one small part. Getting the right replacement is what makes the fix last.
Fix the Drip Without Overthinking It
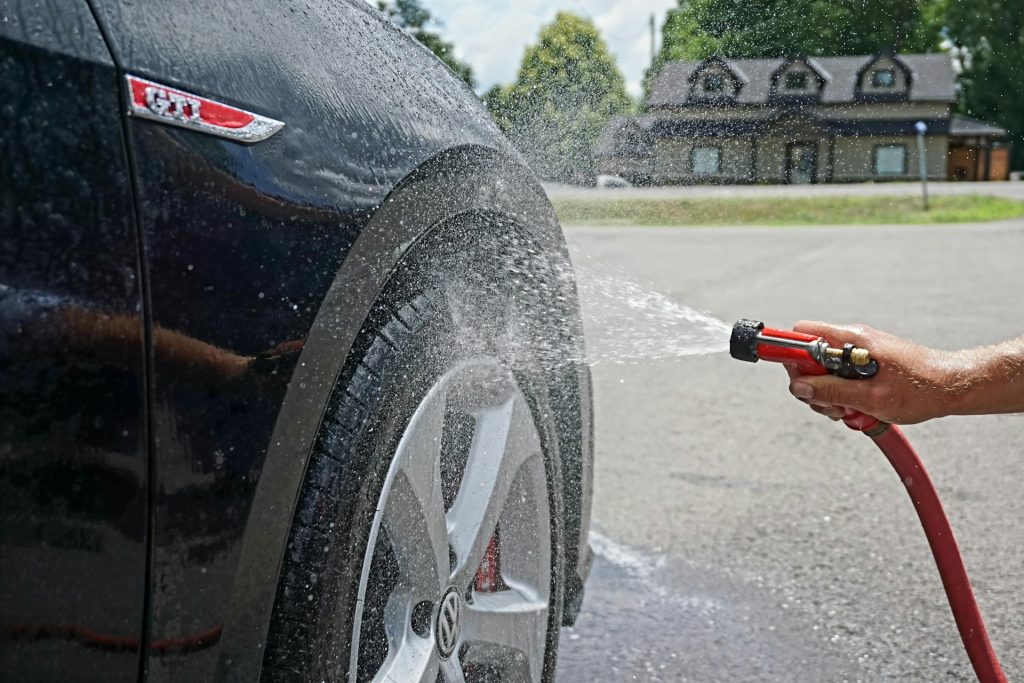
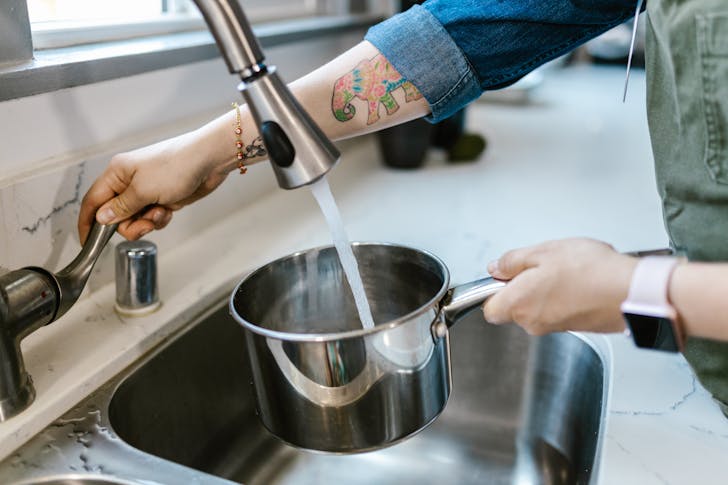
Vik / Unsplash / Before touching the tap, turn off the water supply. Use the isolation valves under the sink if you have them.
If not, shut off the main water supply and open the tap to drain any leftover water.
Remove the tap handle by popping off the decorative cap and undoing the screw underneath. Lift the handle away and use a spanner to loosen the valve or cartridge housing. Take your time and keep the parts in order as you remove them.
Inspect the washer, cartridge, and O-rings closely. If they look cracked, flattened, or brittle, they need to be replaced. Bring the old part to the hardware store so you get an exact match. Reassemble everything snugly, but do not force it, then turn the water back on and test.
If you cannot fix the tap right away, a gentle tightening can sometimes slow the drip. This works best when parts have loosened slightly over time. Be careful not to over-tighten, because that can make things worse.